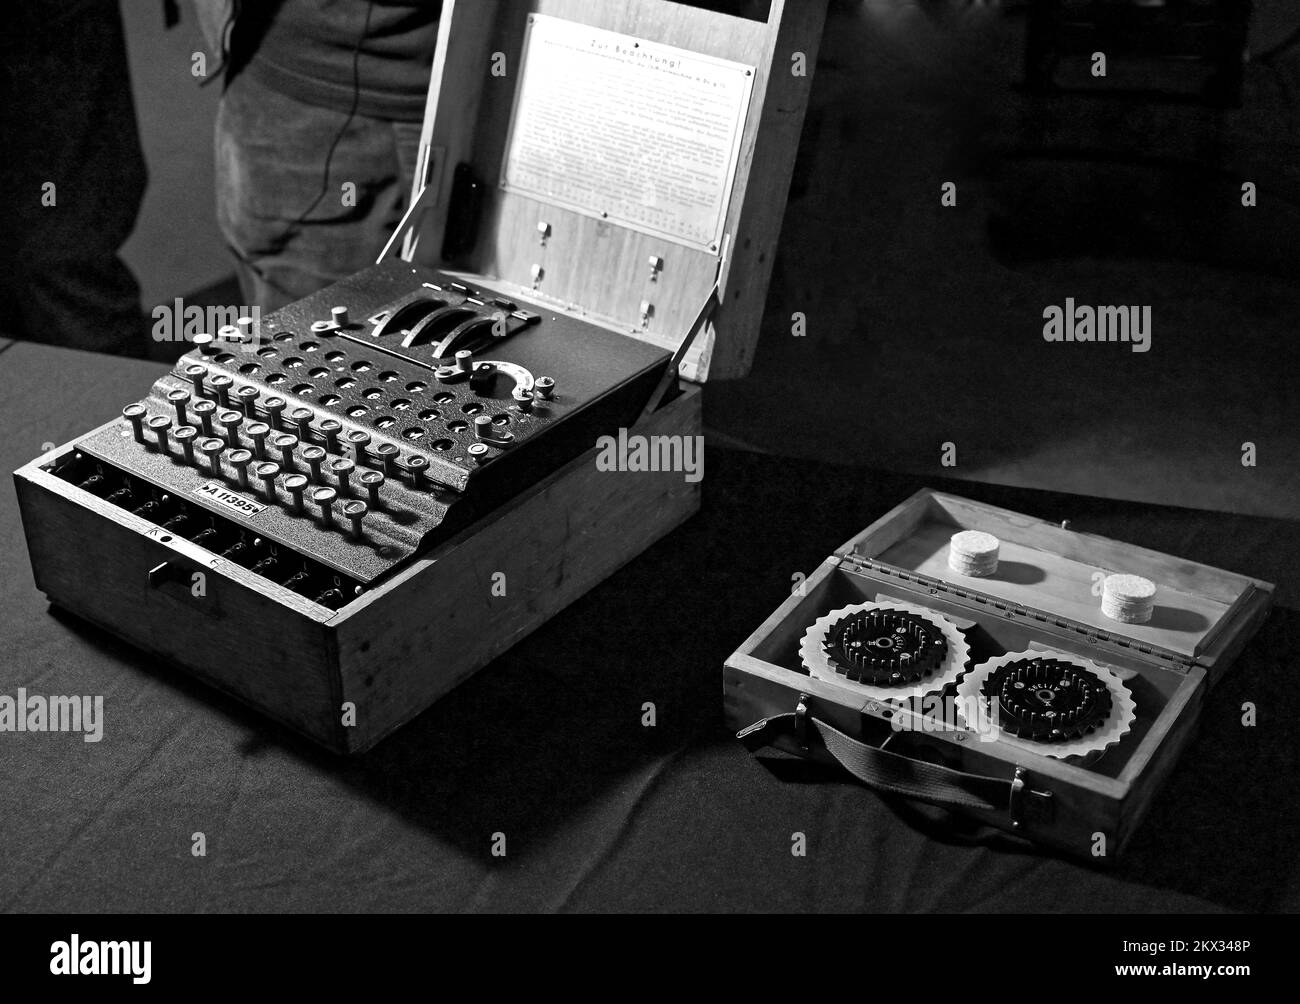
Unraveling the Enigma: the Labyrinth and the Light Bulb Stock
Image gallery of Unraveling The Enigma: Demystifying Irving Inmate Search


Related Post
Berapa Pasang Wifi
Web — lantas, berapa harga pasang wifi dirumah untuk wfh?
Pola Celana Wanita
Webanda dapat membuat pola yang cepat dan sederhana untuk celana pendek anda dengan menjiplak garis tepi celana pendek anda yang memiliki ukuran yang pas pada selembar.
Bagian Bagian Bunga Tulip
Putik dan benang sari menjadi alat perkembangbiakan tumbuhan secara generatif.
Contoh Soal Deret
Web — berikut merupakan 15 contoh soal barisan dan deret aritmatika lengkap dengan pembahasan dan jawabannya yang sudah disusun oleh tim okezone, senin.
Download Suara Burung Gereja
— sebagai alternatif, anda juga dapat memanfaatkan suara rekaman burung gereja yang sudah gacor dan rajin mengeluarkan suara crecetannya.
Mukadimah Bahasa Indonesia
— demikian beberapa contoh pembukaan ceramah islami dalam bahasa indonesia dan arab yang berhasil kami rangkum.
